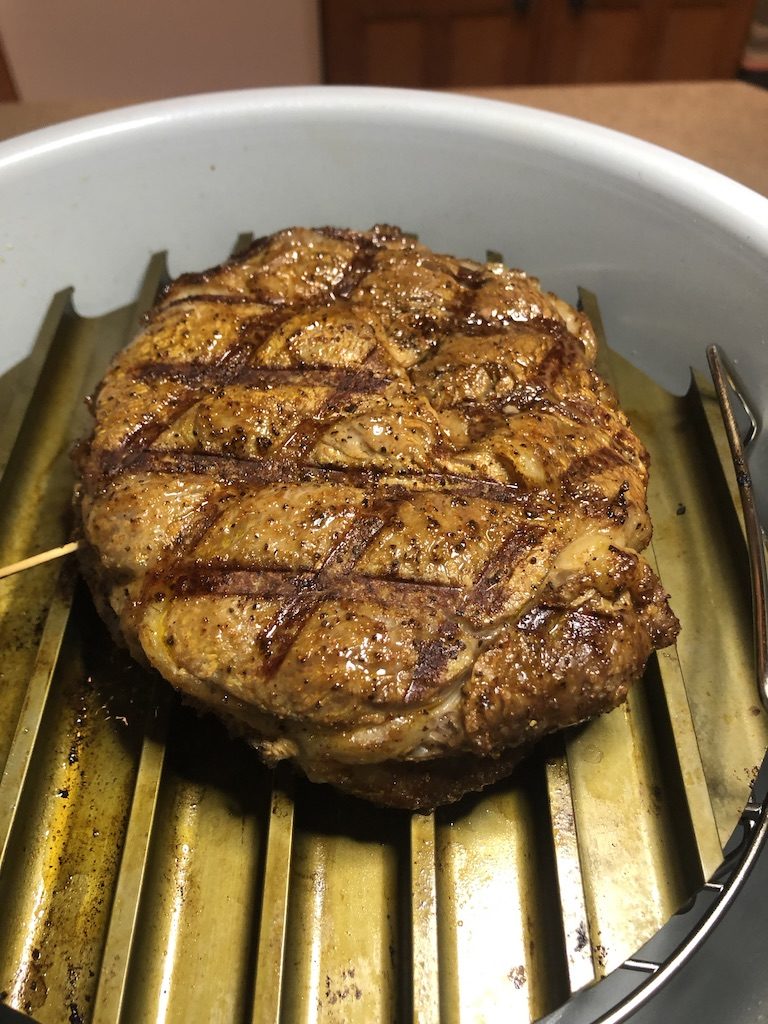

If you're wondering how to cook a steak with GrillGrates in the Ninja Foodi I will show you my method.
Since I got the Ninja Foodi, I challenge myself to cook all kinds of fun things with it. It's quite the versatile cooker yet steak was one thing I wasn't sure would cook up as well as it does on the outdoor grill.
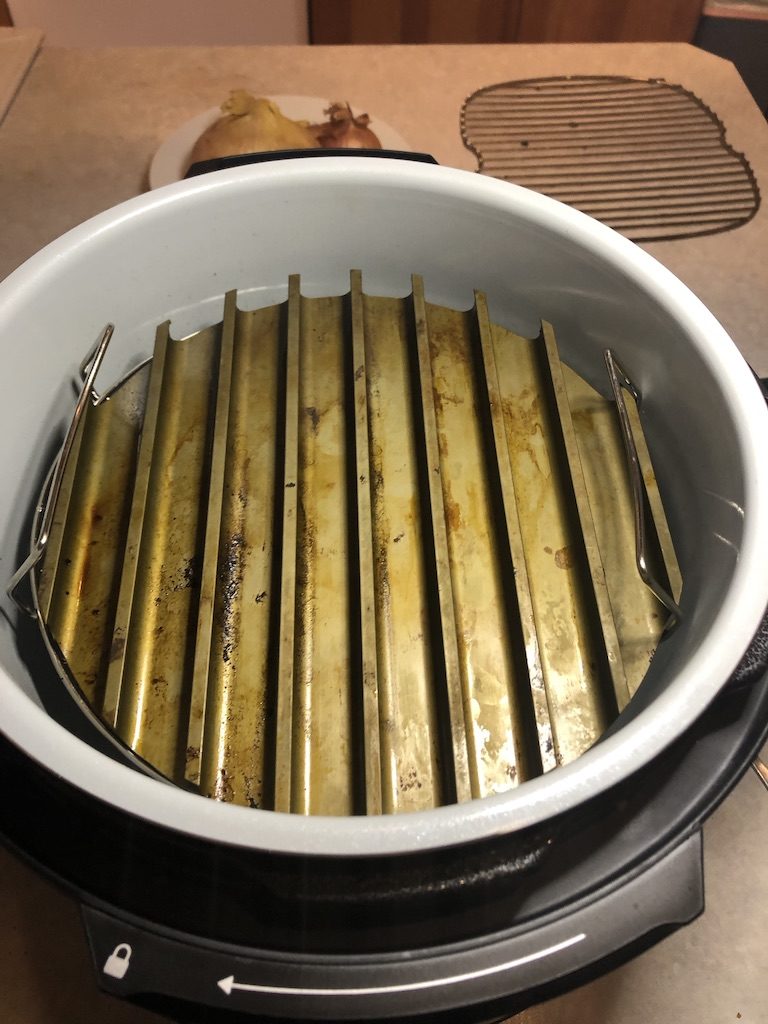
Introducing GrillGrate For The Ninja Foodi
I have always recommended GrillGrates as an accessory for outdoor cooking. There are various benefits of GrillGrates.
I use GrillGrates outside with charcoal, gas, and pellet grills. The benefits of introducing to the Ninja Foodi are identical.
-
GrillGrates amplifies the heat translating to a better sear
-
They add flavor. As food cooks, the juices vaporize and add concentrated flavors to your dish
-
GrillGrates smooth out the heat. Hot or cold spots get evened out resulting in more even cooking
-
Invert the GrillGrates and they cook like a griddle. Perfect for foods like French Toast, Melty diner style sandwiches, and scallops.
Use Outdoor Cooking Methods to Grill a Steak in the Ninja Foodi
After years of grilling, I have a pretty good grasp on how to cook an awesome steak.
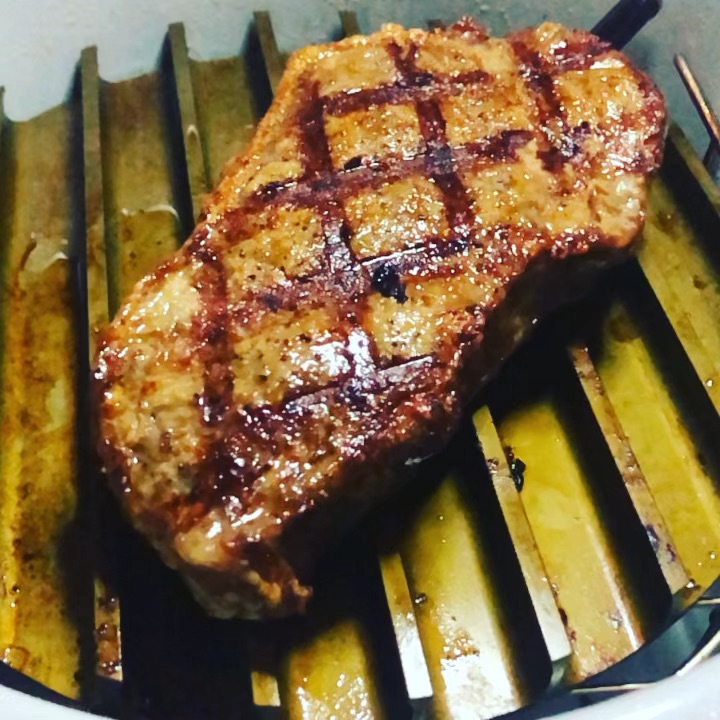
Rather than soapbox about how to cook the perfect steak, here's my method for making one in the Ninja Foodi:
-
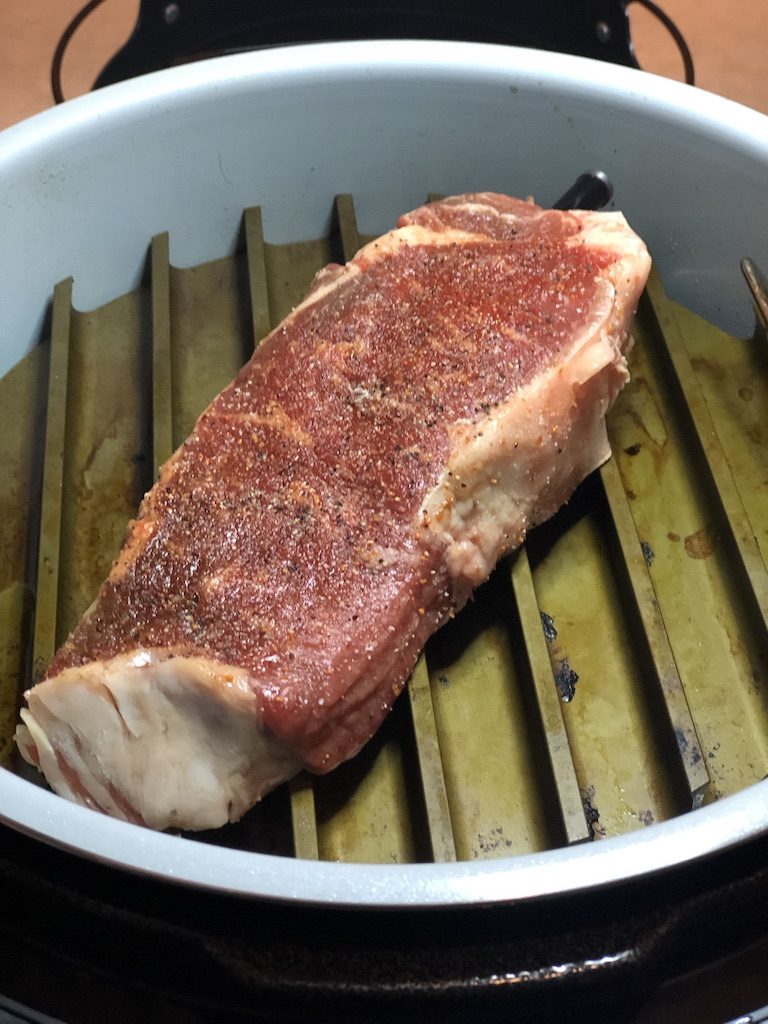
Remove the steak from any packaging. Give it a rinse and pat dry.
-
Season the steak liberally with your favorite rub or steak seasoning and set aside. Allow it to rest at room temperature
-
Place GrillGrates on the Foodi's wire rack, or something to elevate it by the heating element
-
Leave about three to four inches between the heating element and the GrillGrates
-
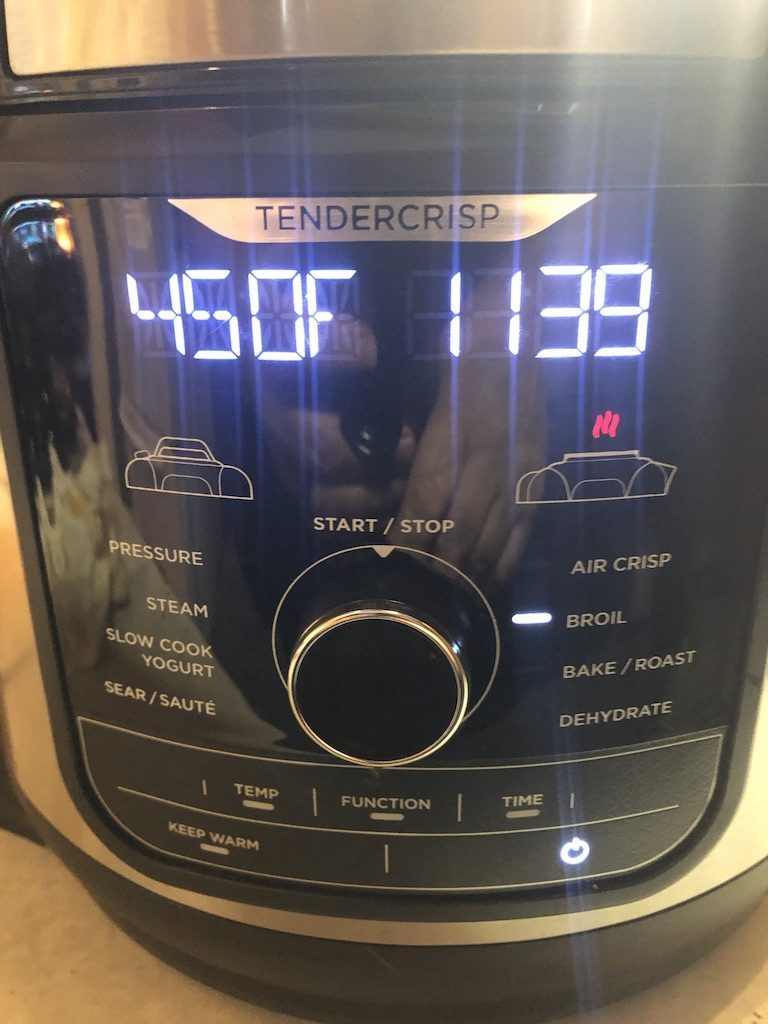
Preheat the Ninja Foodi and GrillGrates on broil setting for 10-15 minutes
-
Place the steak on the GrillGrates and cook for four minutes then flip
-
Grill for three more minutes and remove from the Foodi Grill.
-
Allow the steak to rest for five minutes and serve immediately
Pro Tip: For those signature crosshatch sear marks, as shown above, make sure you lift and twist your meat halfway through cooking on each side
A steak will continue to cook even after it's removed from the heat
A very important thing to point out that the key perfect doneness is using a quality thermometer. I recommend the Temp & Time Instant Read Thermometer, you can get one here.
This method is most beneficial when the meat cooks below your desired temperature.
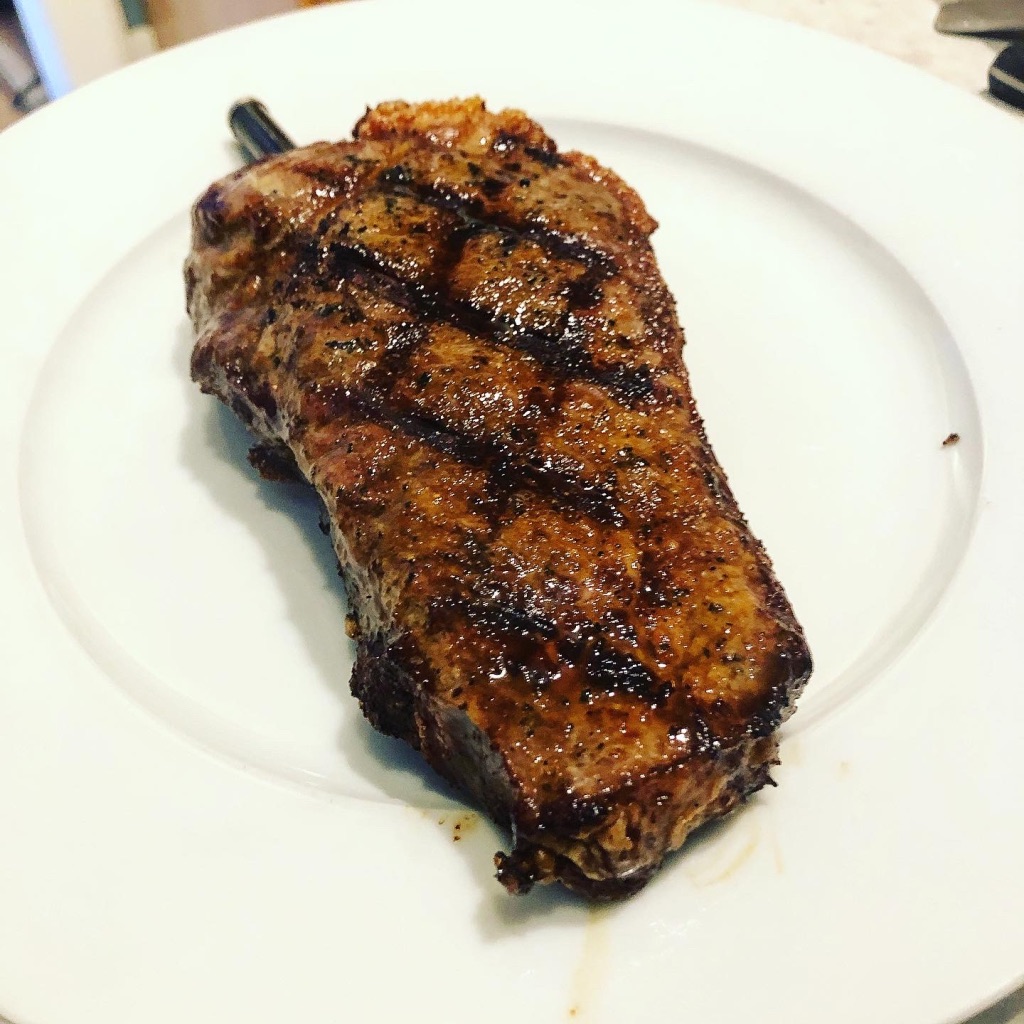
A steak will continue to cook even after it's removed from the heat.
Plan to pull the meat between five and ten degrees below your preferred doneness. My target pull temperature is 125F. This allows some room for the hot meat to carry-over as it continues to cook off of the heat.
I prefer steak cooked between 132F-135F.
Check out the SearNSizzle GrillGrate Bundle for the Ninja Foodi and some other fun items at =>> GrillGrates.com
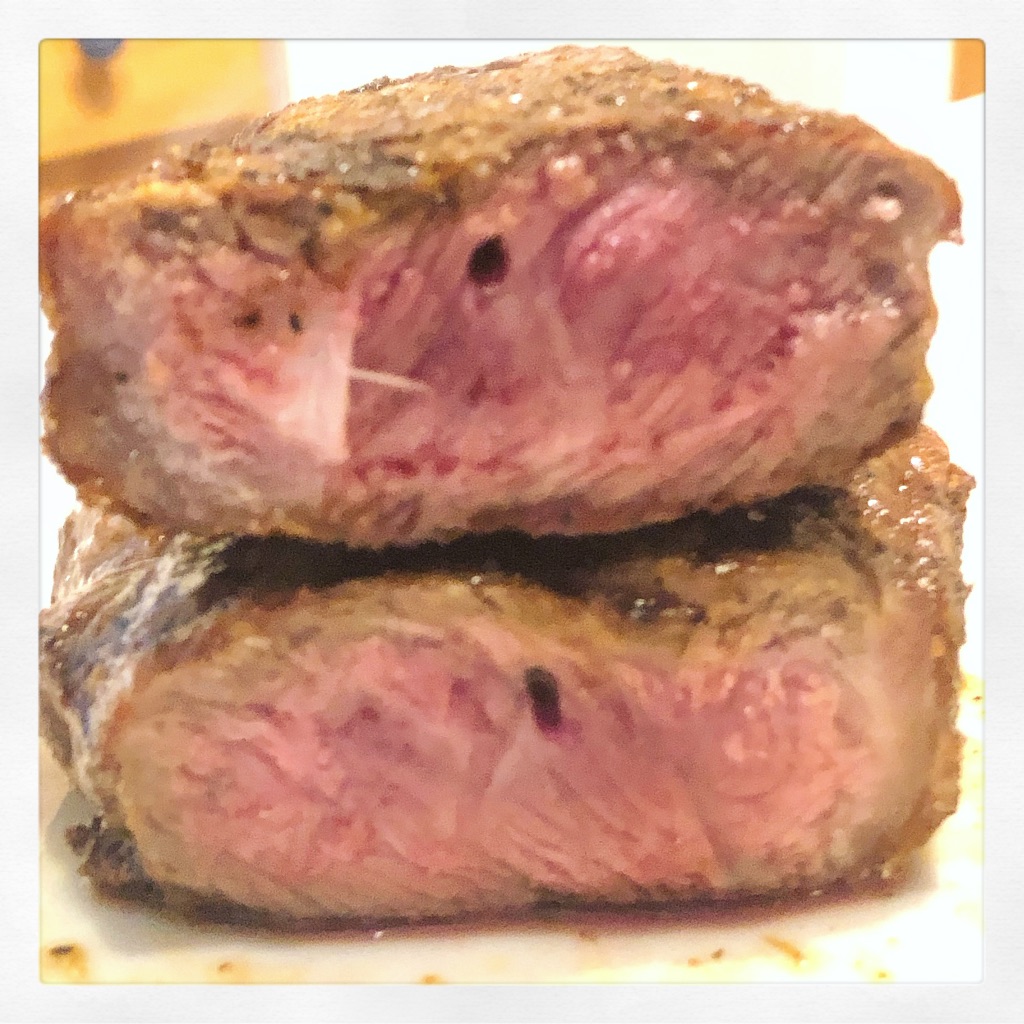
You can also adjust your cooking technique slightly if you have a thin steak and use this method as a guide to a delicious steak dinner.
Comments
No Comments