The last time I made ribs, it got me thinking about my best tips for cooking homemade dry rub ribs 3-2-1 style on the pellet grill or smoker.
I will give you my rib rub recipe after the tips that you can print out and use to make your own dry rub after these 10 tips on cooking them.
There are probably more than 10 tips available but this should get you off to a good start.
Save the barbecue sauce for the end (if at all)
I cringe when I see someone slather barbecue sauce on uncooked ribs. When I see raw ribs on a wire rack or sheet pan with sauce on them it's just asking for trouble.
Barbecue sauce can be just as delicious as the ribs themselves. But most barbecue sauces contain sugar. A lot of sugar.
This is why I love making a rack of ribs with a simple dry rub and save the favorite bbq sauce for the end; if at all.
If you put barbecue sauce on ribs and then cook them for hours there is a 100% chance that the barbecue sauce will burn and ruin your efforts.
Sugar burns at 350F.
Even though we are cooking ribs at a lower temperature, the oils and fats in the food can easily reach that temperature resulting in a burned mess. Remember, barbecue sauce is not a wet rub. It's merely a sauce that adds some additional bbq flavor.
And just because you may be making baby back ribs in a slow cooker or St. Louis ribs in an instant pot, sauce on the racks of ribs can still burn if they are sauced too soon.
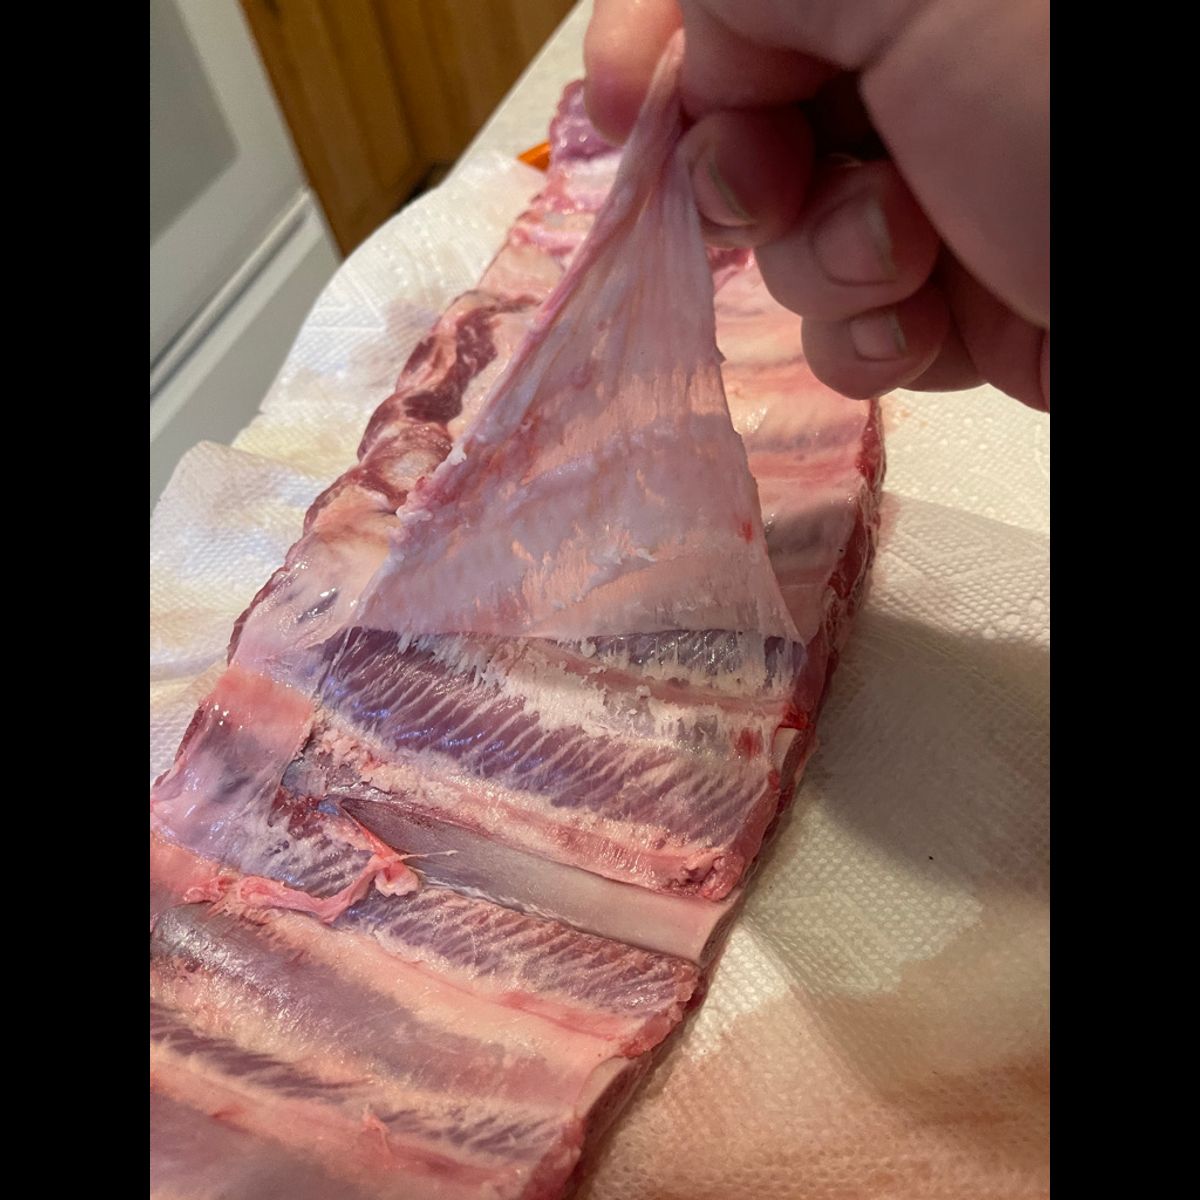
Remove the membrane or buy your ribs with the membrane removed.
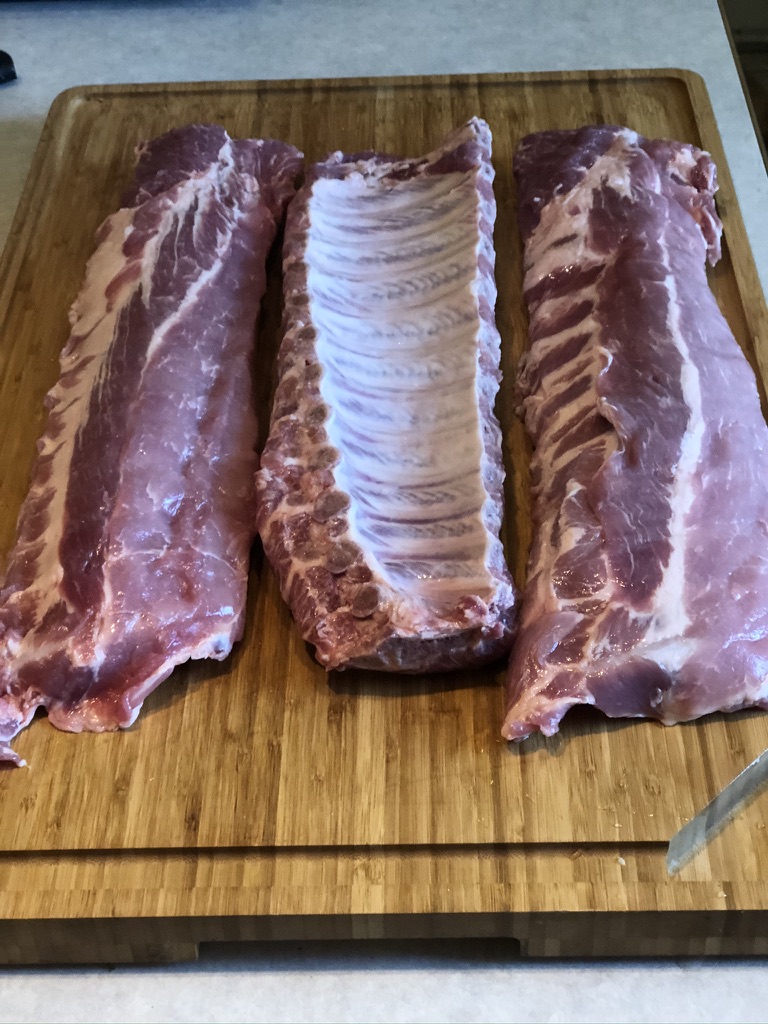
When you flip over spare ribs and look at the curved, bone side there is a membrane or silver skin that runs down about two-thirds of the rack.
Although it won't hurt to eat this membrane, it's quite unpleasant, and chewing through it may take a bit of time like chewing through a string on an old tennis racquet.
Use your finger or a small knife like a butter knife to loosen the membrane from the bone and then grab it with a paper towel to pull it free from the bone.
Some ribs like the ones you purchase at Costco already have the membrane removed so you can get to cooking quicker. If you're extra nice to your neighborhood butcher, you may even be able to ask him to remove the membrane for you.
The membrane is present on the ribs of most animals, and I suggest removing it from beef ribs as well as pork ribs. Country-style ribs like the ones in this recipe have no membrane but bring a delicious pork flavor.
Always use salt but take it easy
A good salt works magic on most meats, and ribs are no exception.
Lightly sprinkling salt on your meat even a couple of hours prior to cooking is called dry brining. It intensifies the flavor of your meat and often leaves meat more tender and juicy than without.
Most store-bought rubs and spice blends already have salt included with the blend. If you're using a favorite store-bought rub that contains salt, you can rinse some of the dry brine off of the ribs before re-seasoning and cooking.
Pair the flavor of your smoke with the protein
Give me fruitwood and I will smoke with it 99% of the time.
Fruit woods like apple, cherry, and peach, pair wonderfully with pork and most lighter proteins like chicken wings, poultry, and fish. They are just wonderful for cooking ribs to bone tender over indirect heat.
Hardwoods like hickory, oak, and mesquite are great for beef but can overpower more delicate foods. Take this into consideration when you are planning your cook.
The pellet grill makes choosing smoke flavor a bit easier because of flavored wood pellets.
Set a 3-2-1 ribs schedule and stick with it
The rule of thumb for how long it takes to cook ribs is six hours.
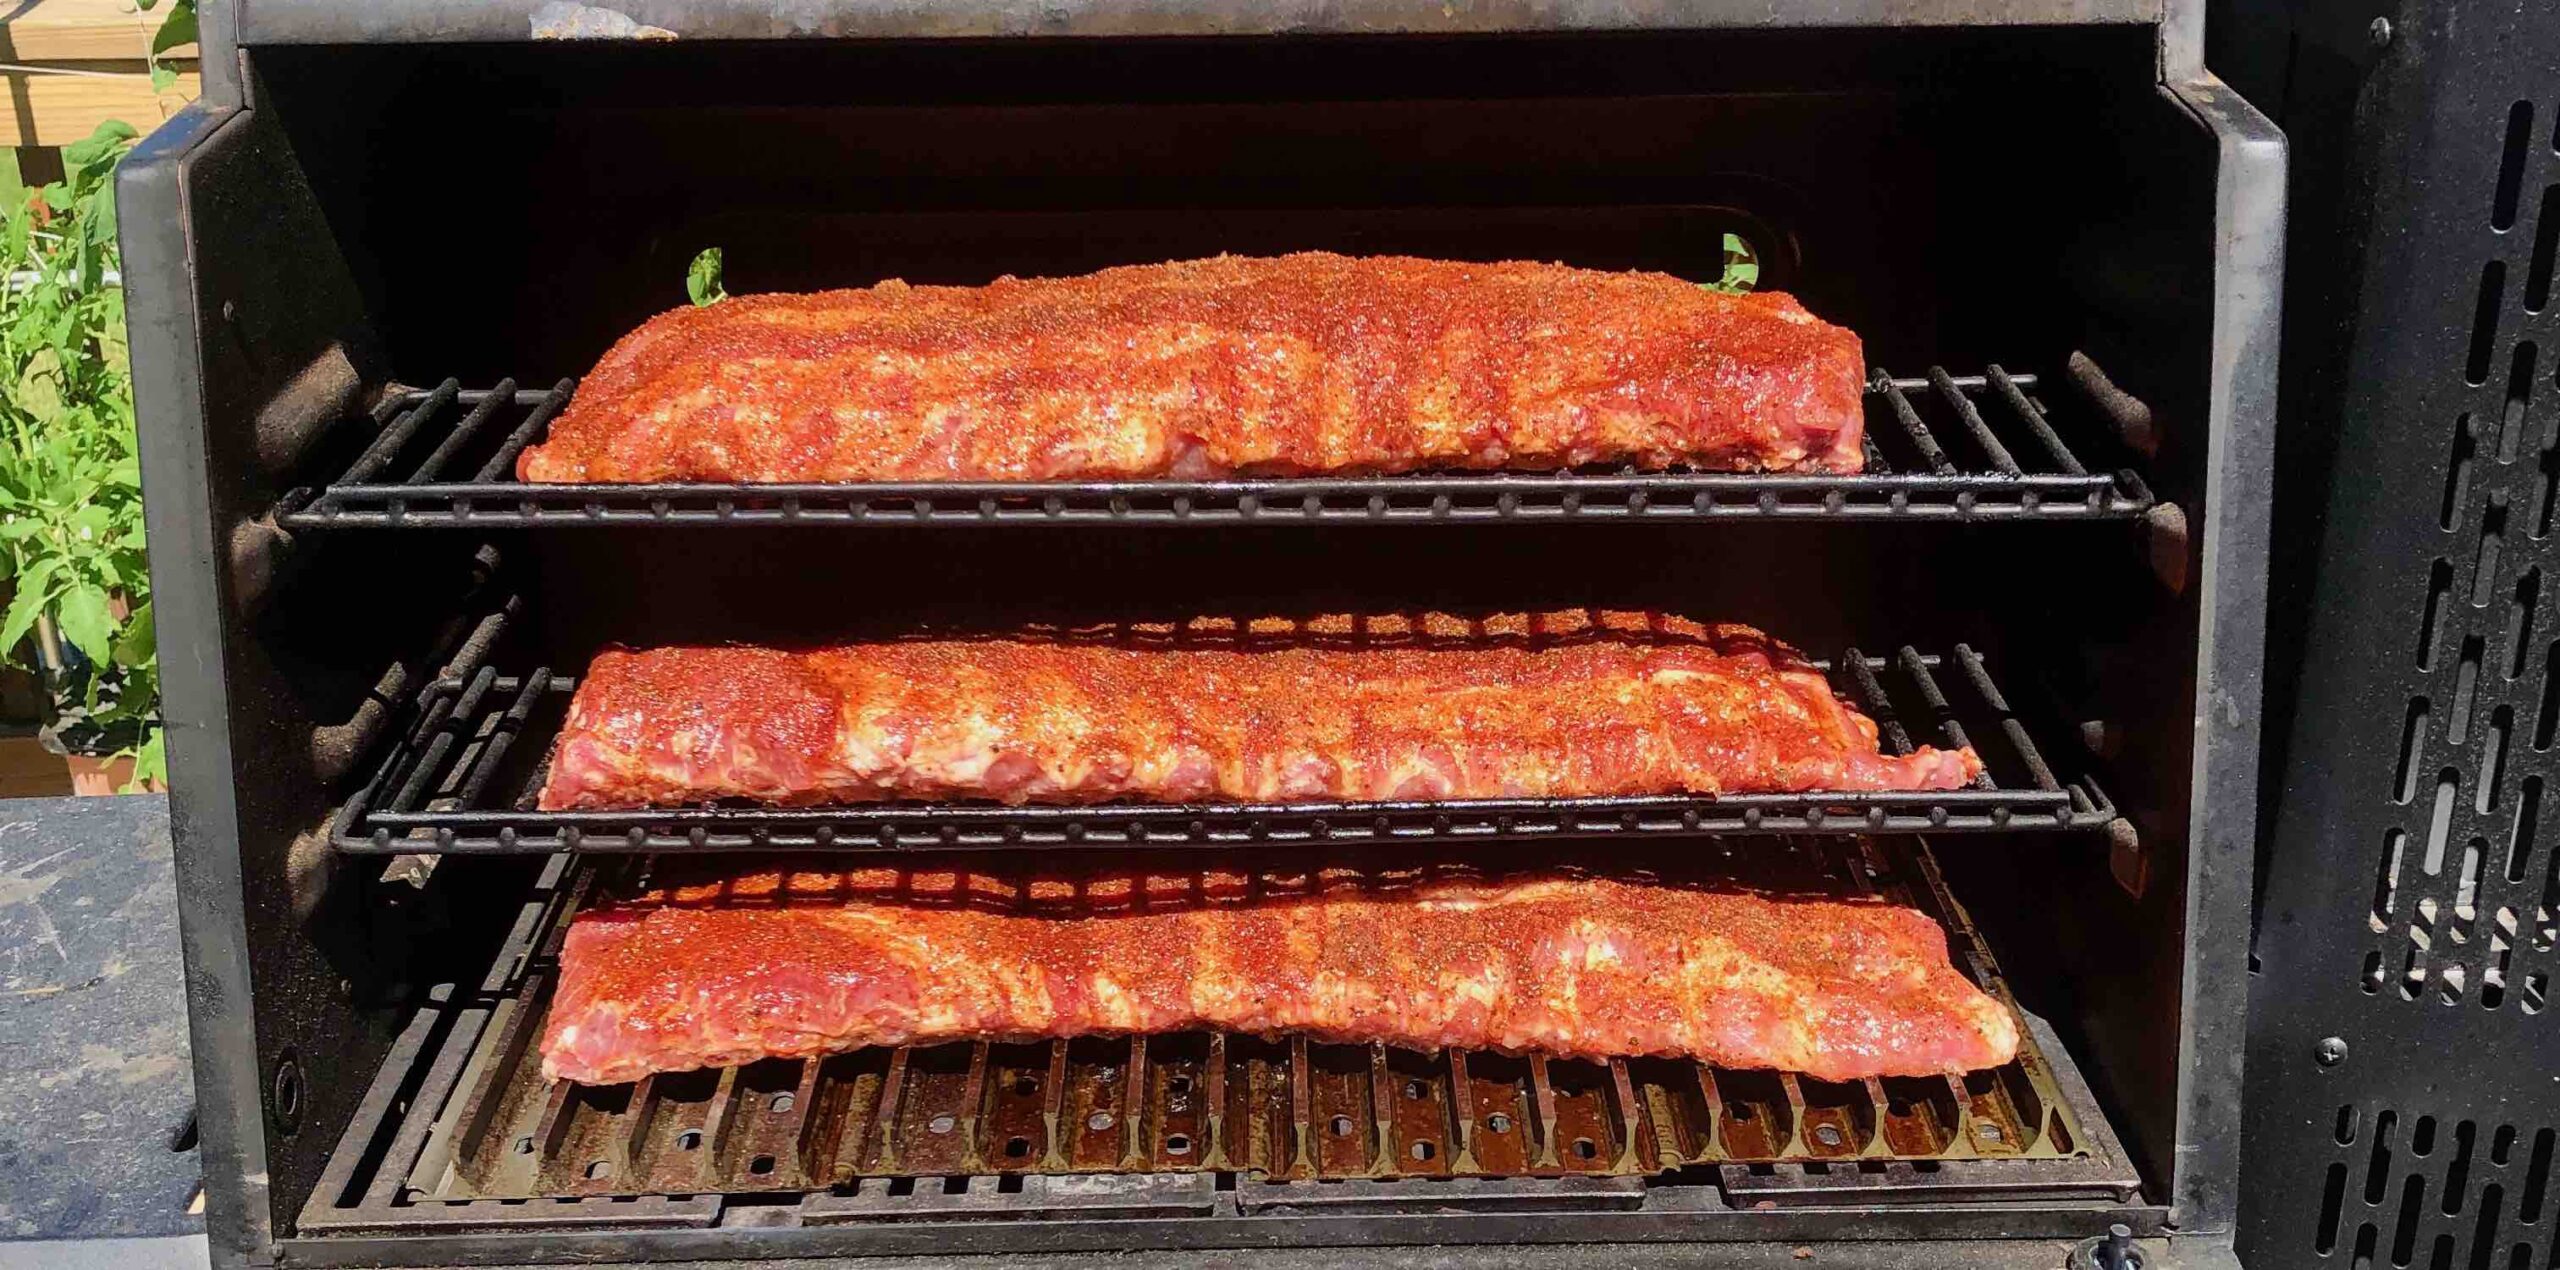
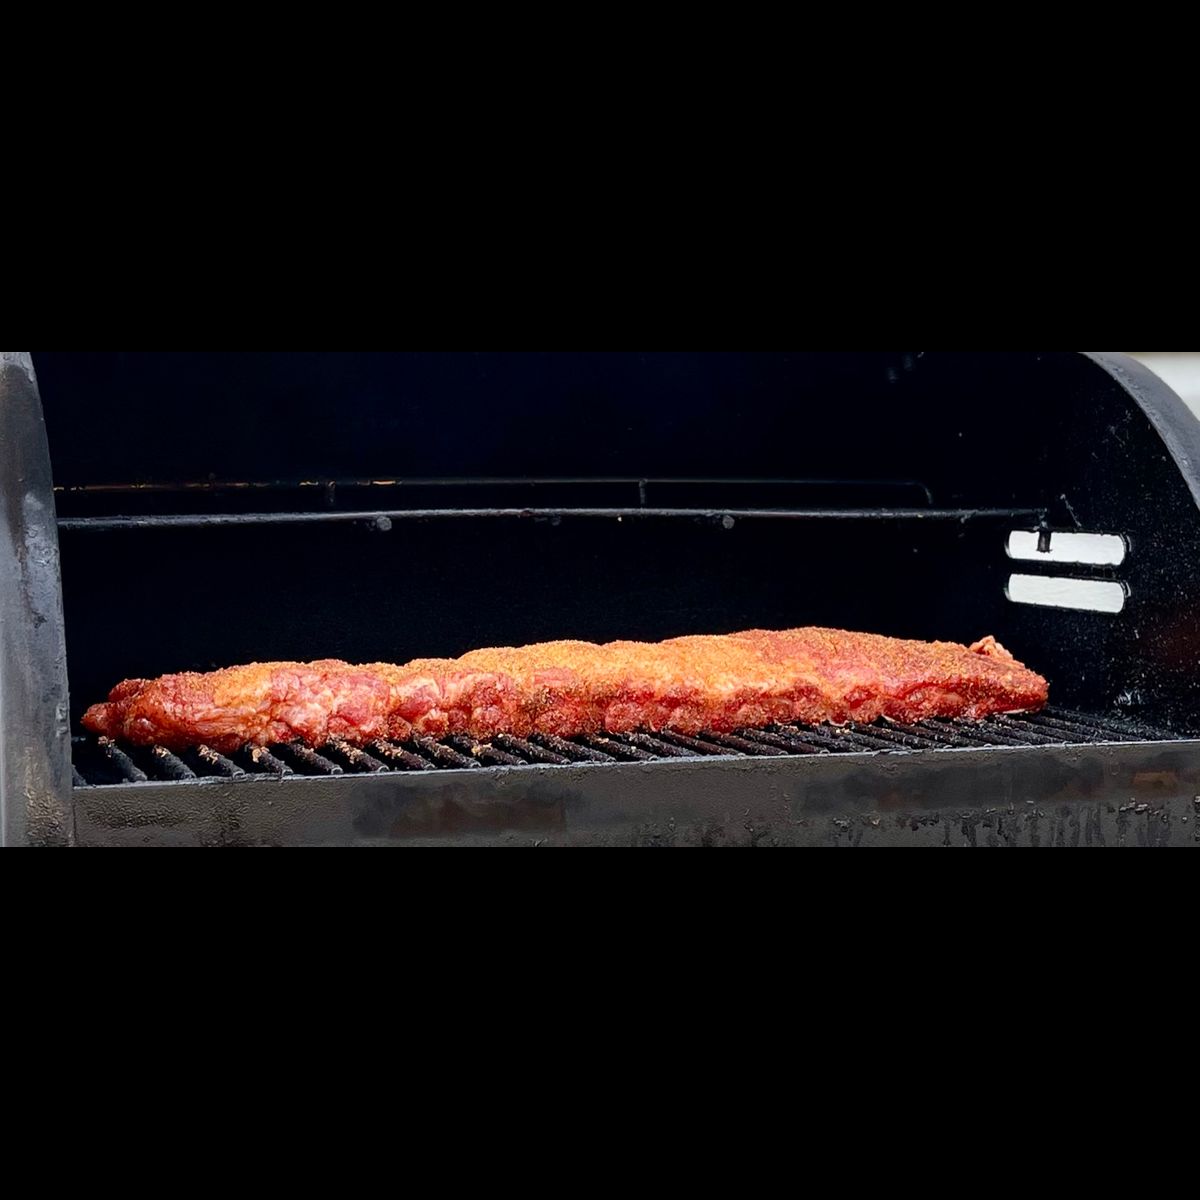
- Three hours of smoking
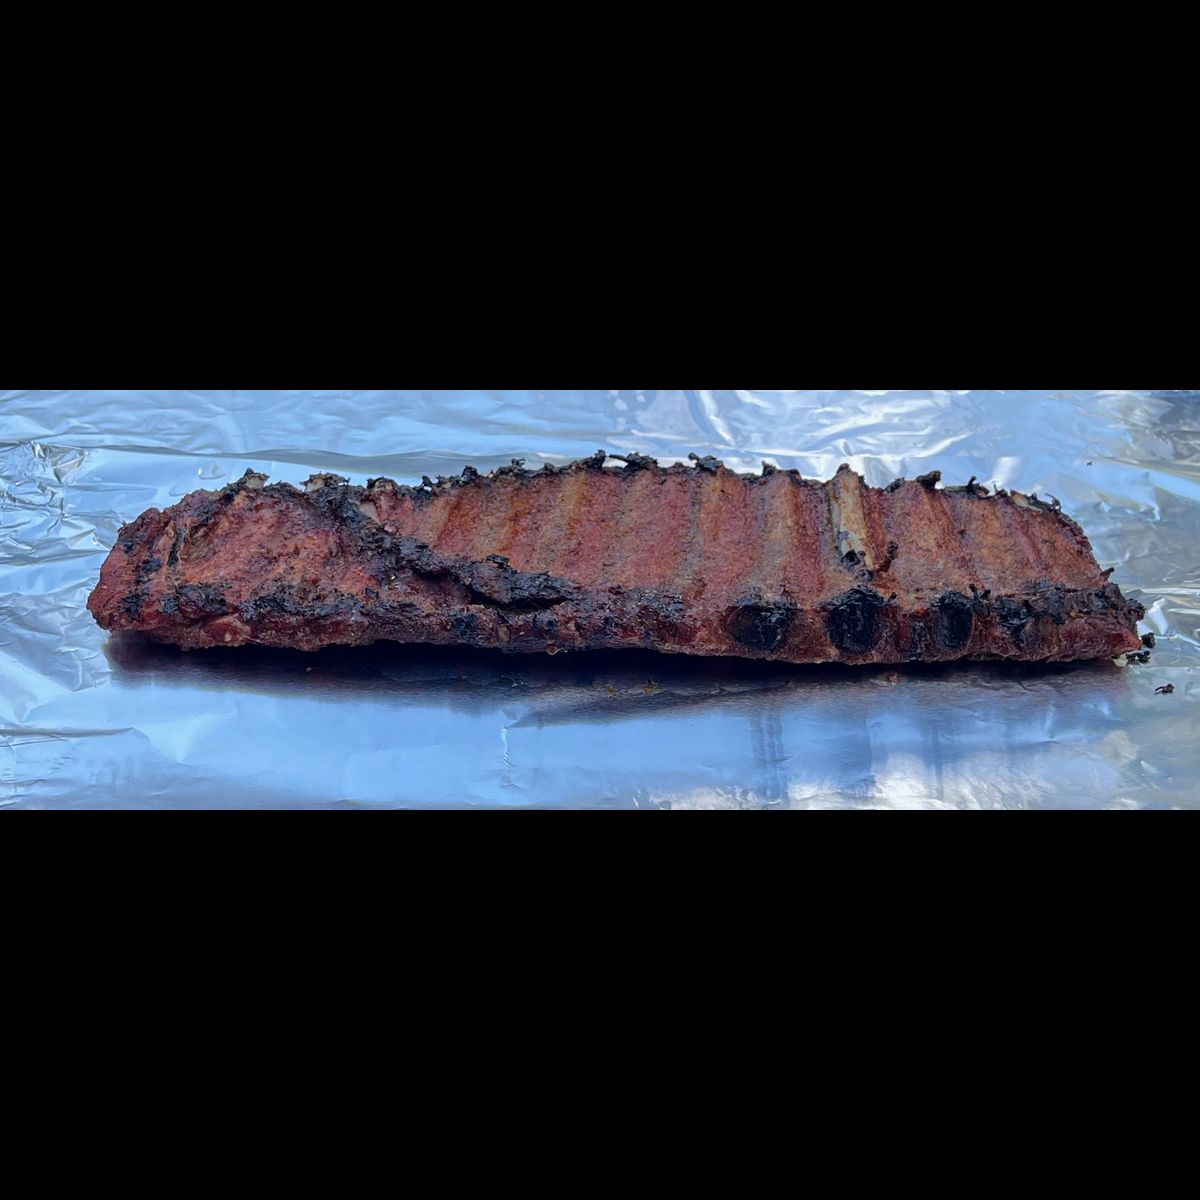
- Two hours cooking while wrapped in aluminum foil
- One hour finishing unwrapped
This six-hour method for cooking ribs is commonly referred to as 3-2-1 ribs.
You will find that the more experience you have cooking ribs, the more you will get a feel for the timing and even make small adjustments to your method.
The first three hours are when you really want the smoke to flavor your food. You will notice a reddish hue often colors ribs toward the second and third hour of smoking and this is a good thing.
After three hours on the smoke, wrap the ribs tightly in a double layer of good quality foil. Wrapping traps in moisture. This step is where the ribs get that fall off the bone tenderness.
For the final hour, ribs go back on the smoker to re-develop bark or a drier and quite flavorful crust on the meat.
Most people are fans of sauced ribs and this is the time to sauce your ribs. The final hour will allow the sauce to dry a bit or set on the ribs.
Having a schedule will only help you nail cooking ribs in the future. This is one of the most important of my 10 Tips For Cooking 3-2-1 Ribs
Start early, finish early
A cook time of six hours is the rule of thumb for barbecued ribs. But if guests are arriving at 5 pm you probably want the ribs to be done beforehand.
You should give yourself up to three additional hours to cook the ribs depending on what you have going on that day.
There are often variables not taken into consideration that can impact what time the ribs hit the table.
Pellet grills are quite reliable but not foolproof.
A Charcoal grill and charcoal smokers are also quite reliable. But often people forget about getting the charcoal properly ignited and having the grill or smoker correctly heat soaked prior to cooking. This is especially true on humid days or when there is an imminent threat of rain.
Ribs can be wrapped tightly in foil after cooking and kept warm in a cooler stuffed with dry towels. The best part is that a cooler and towels will keep the ribs warm for hours.
There are other cooking methods that have longer cooking times like cooking sous vide or a pressure cooker that can get them cooked in a couple hours. But I've found that smoking them with homemade rib rub is the perfect balance of flavor, time, and texture which results in the most tender meat.
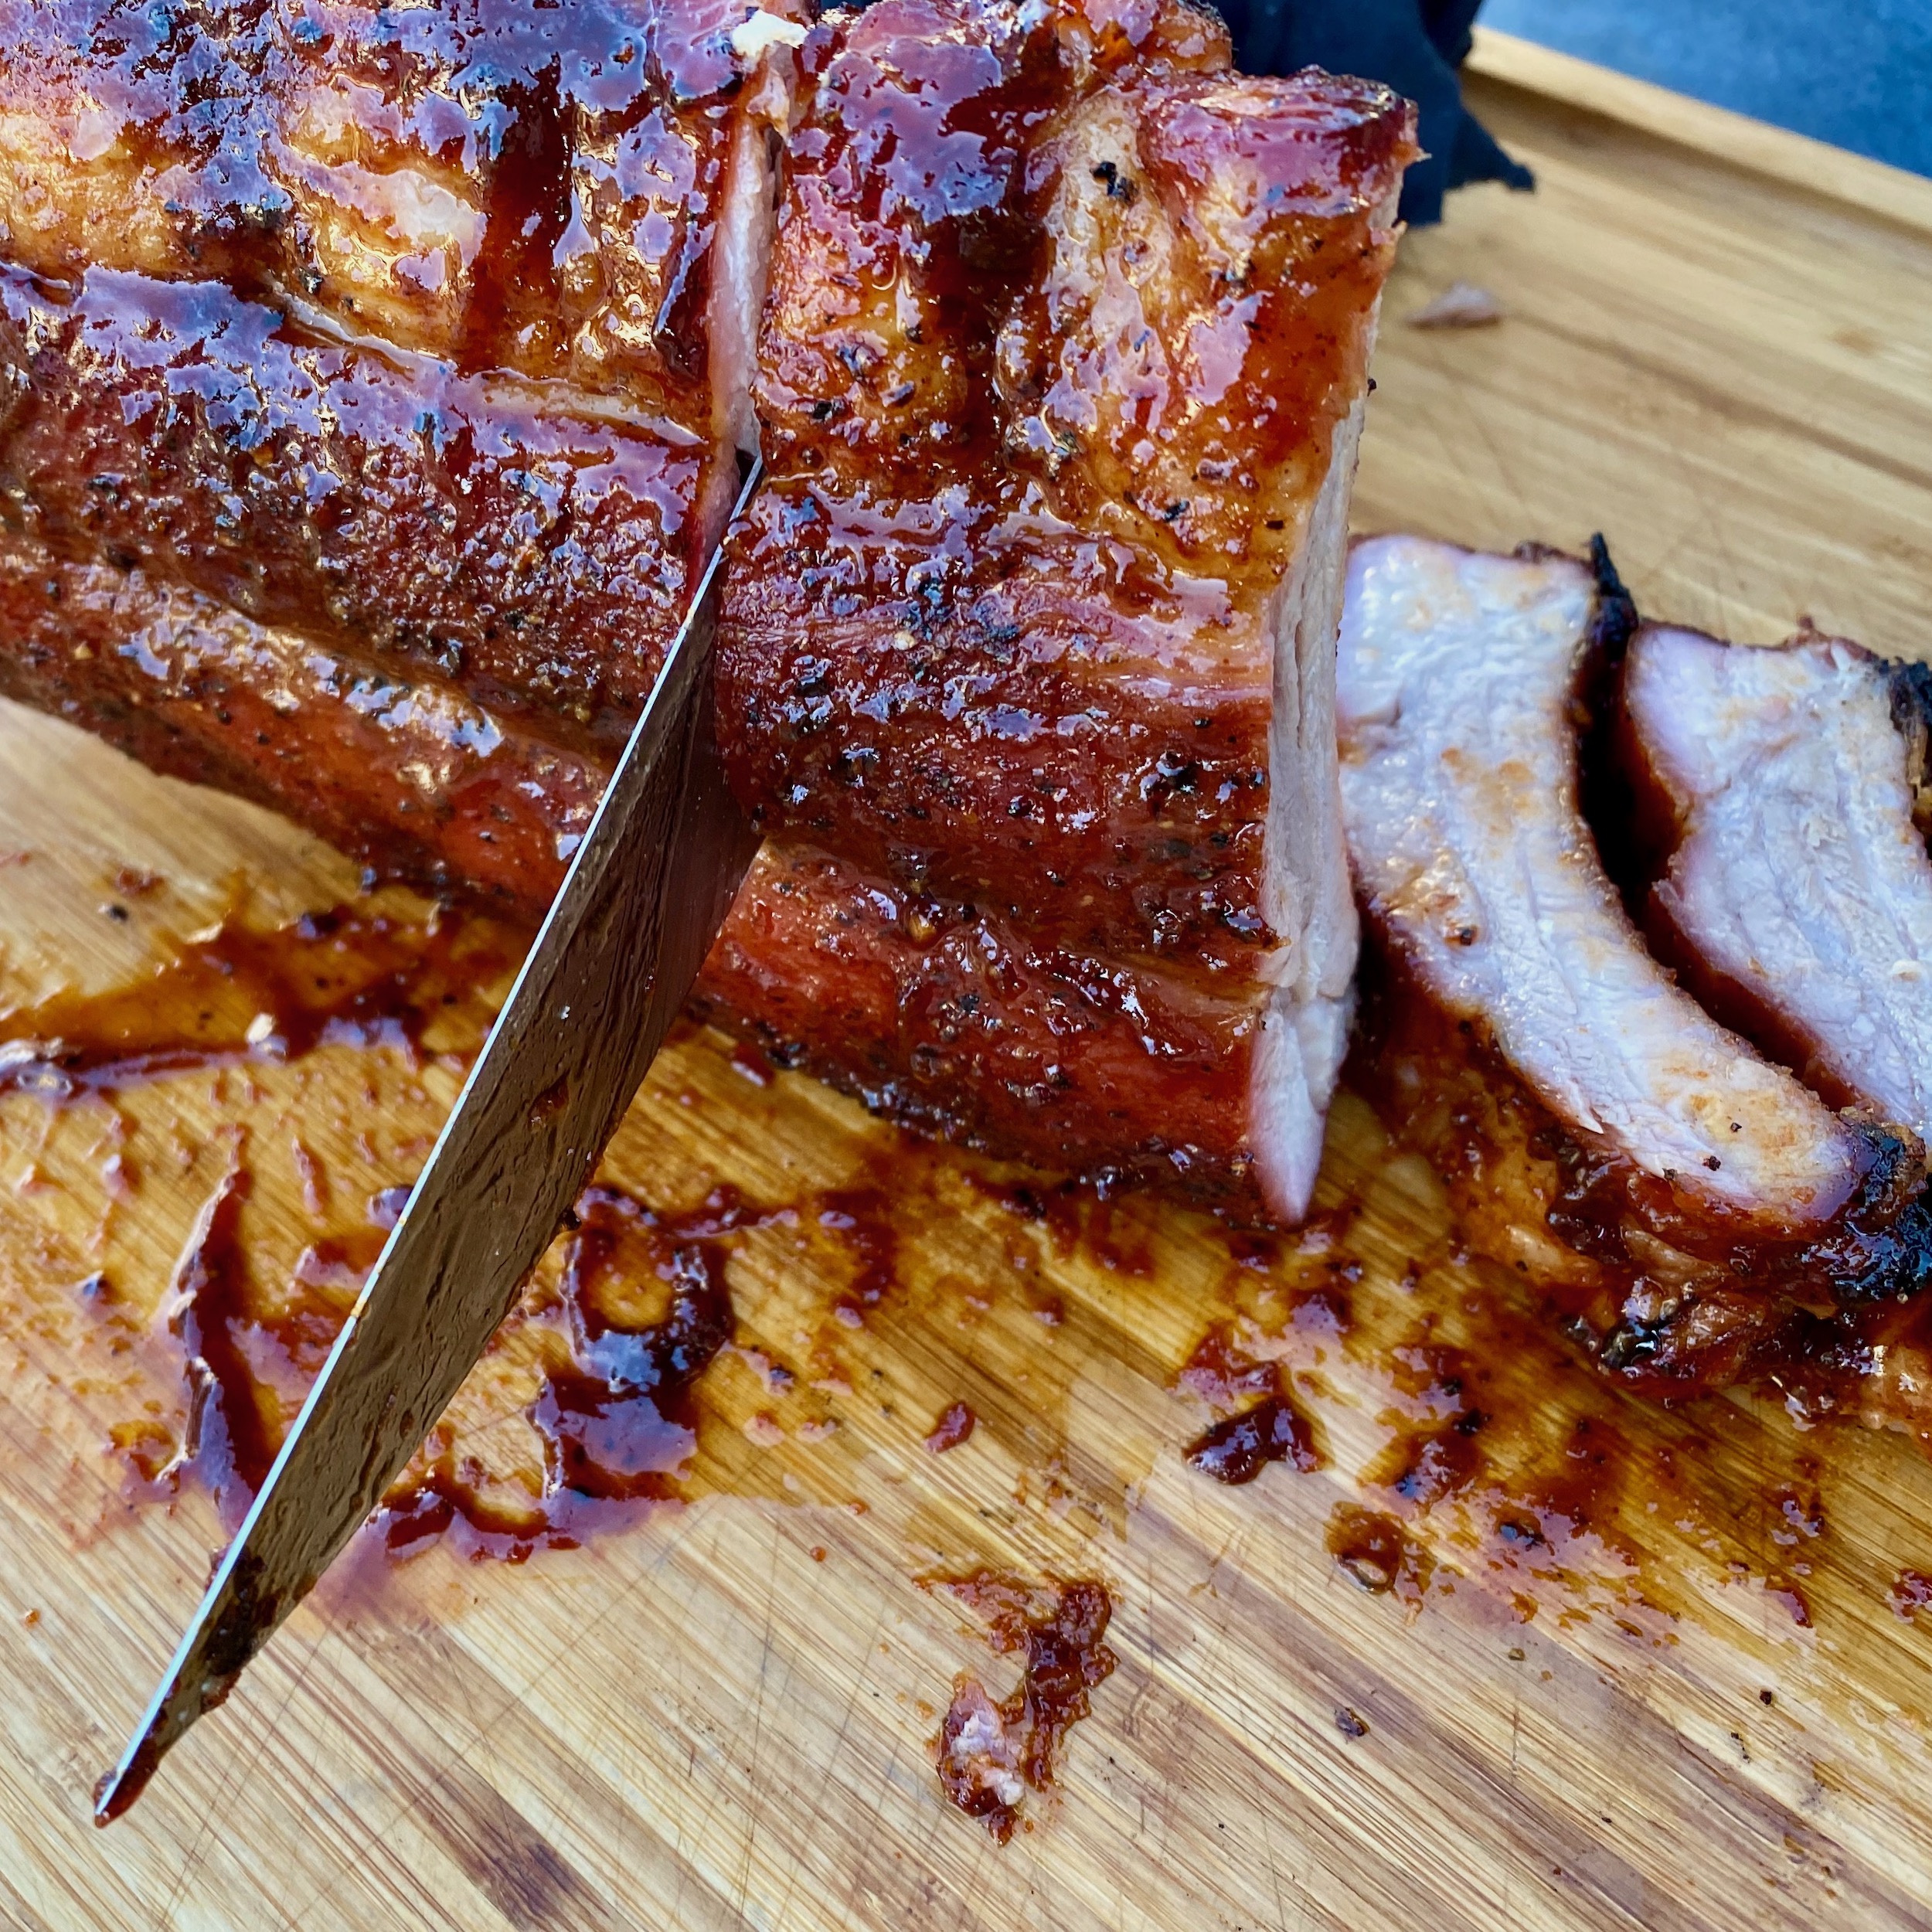
When it comes to slicing, the flip is the tip
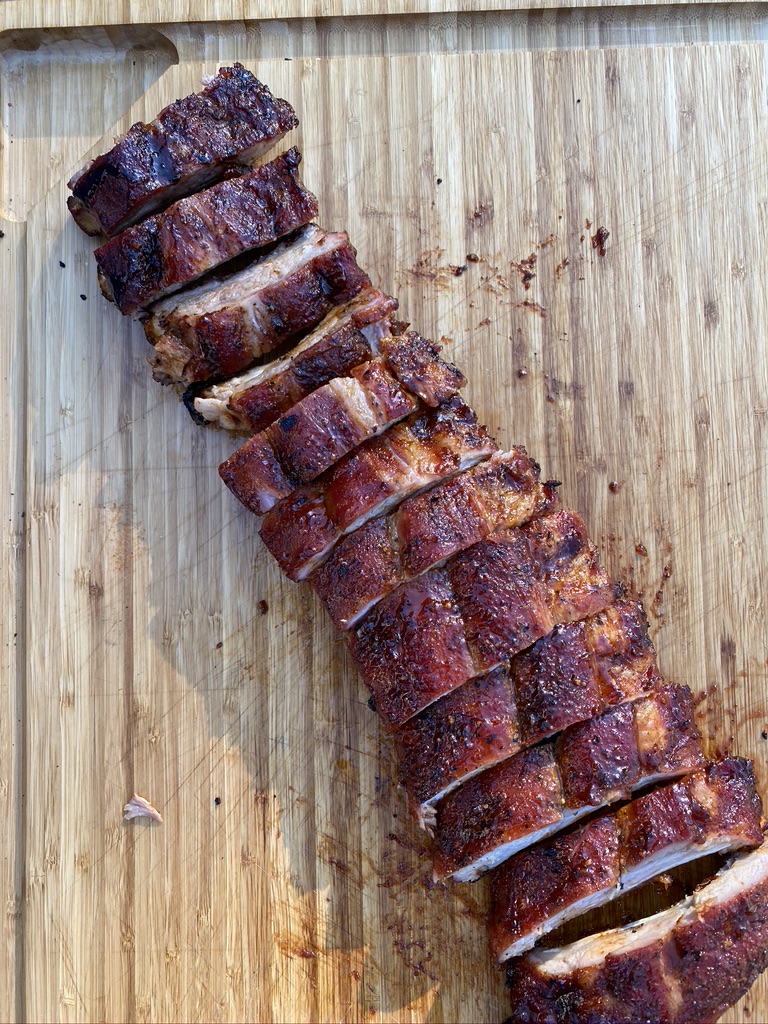
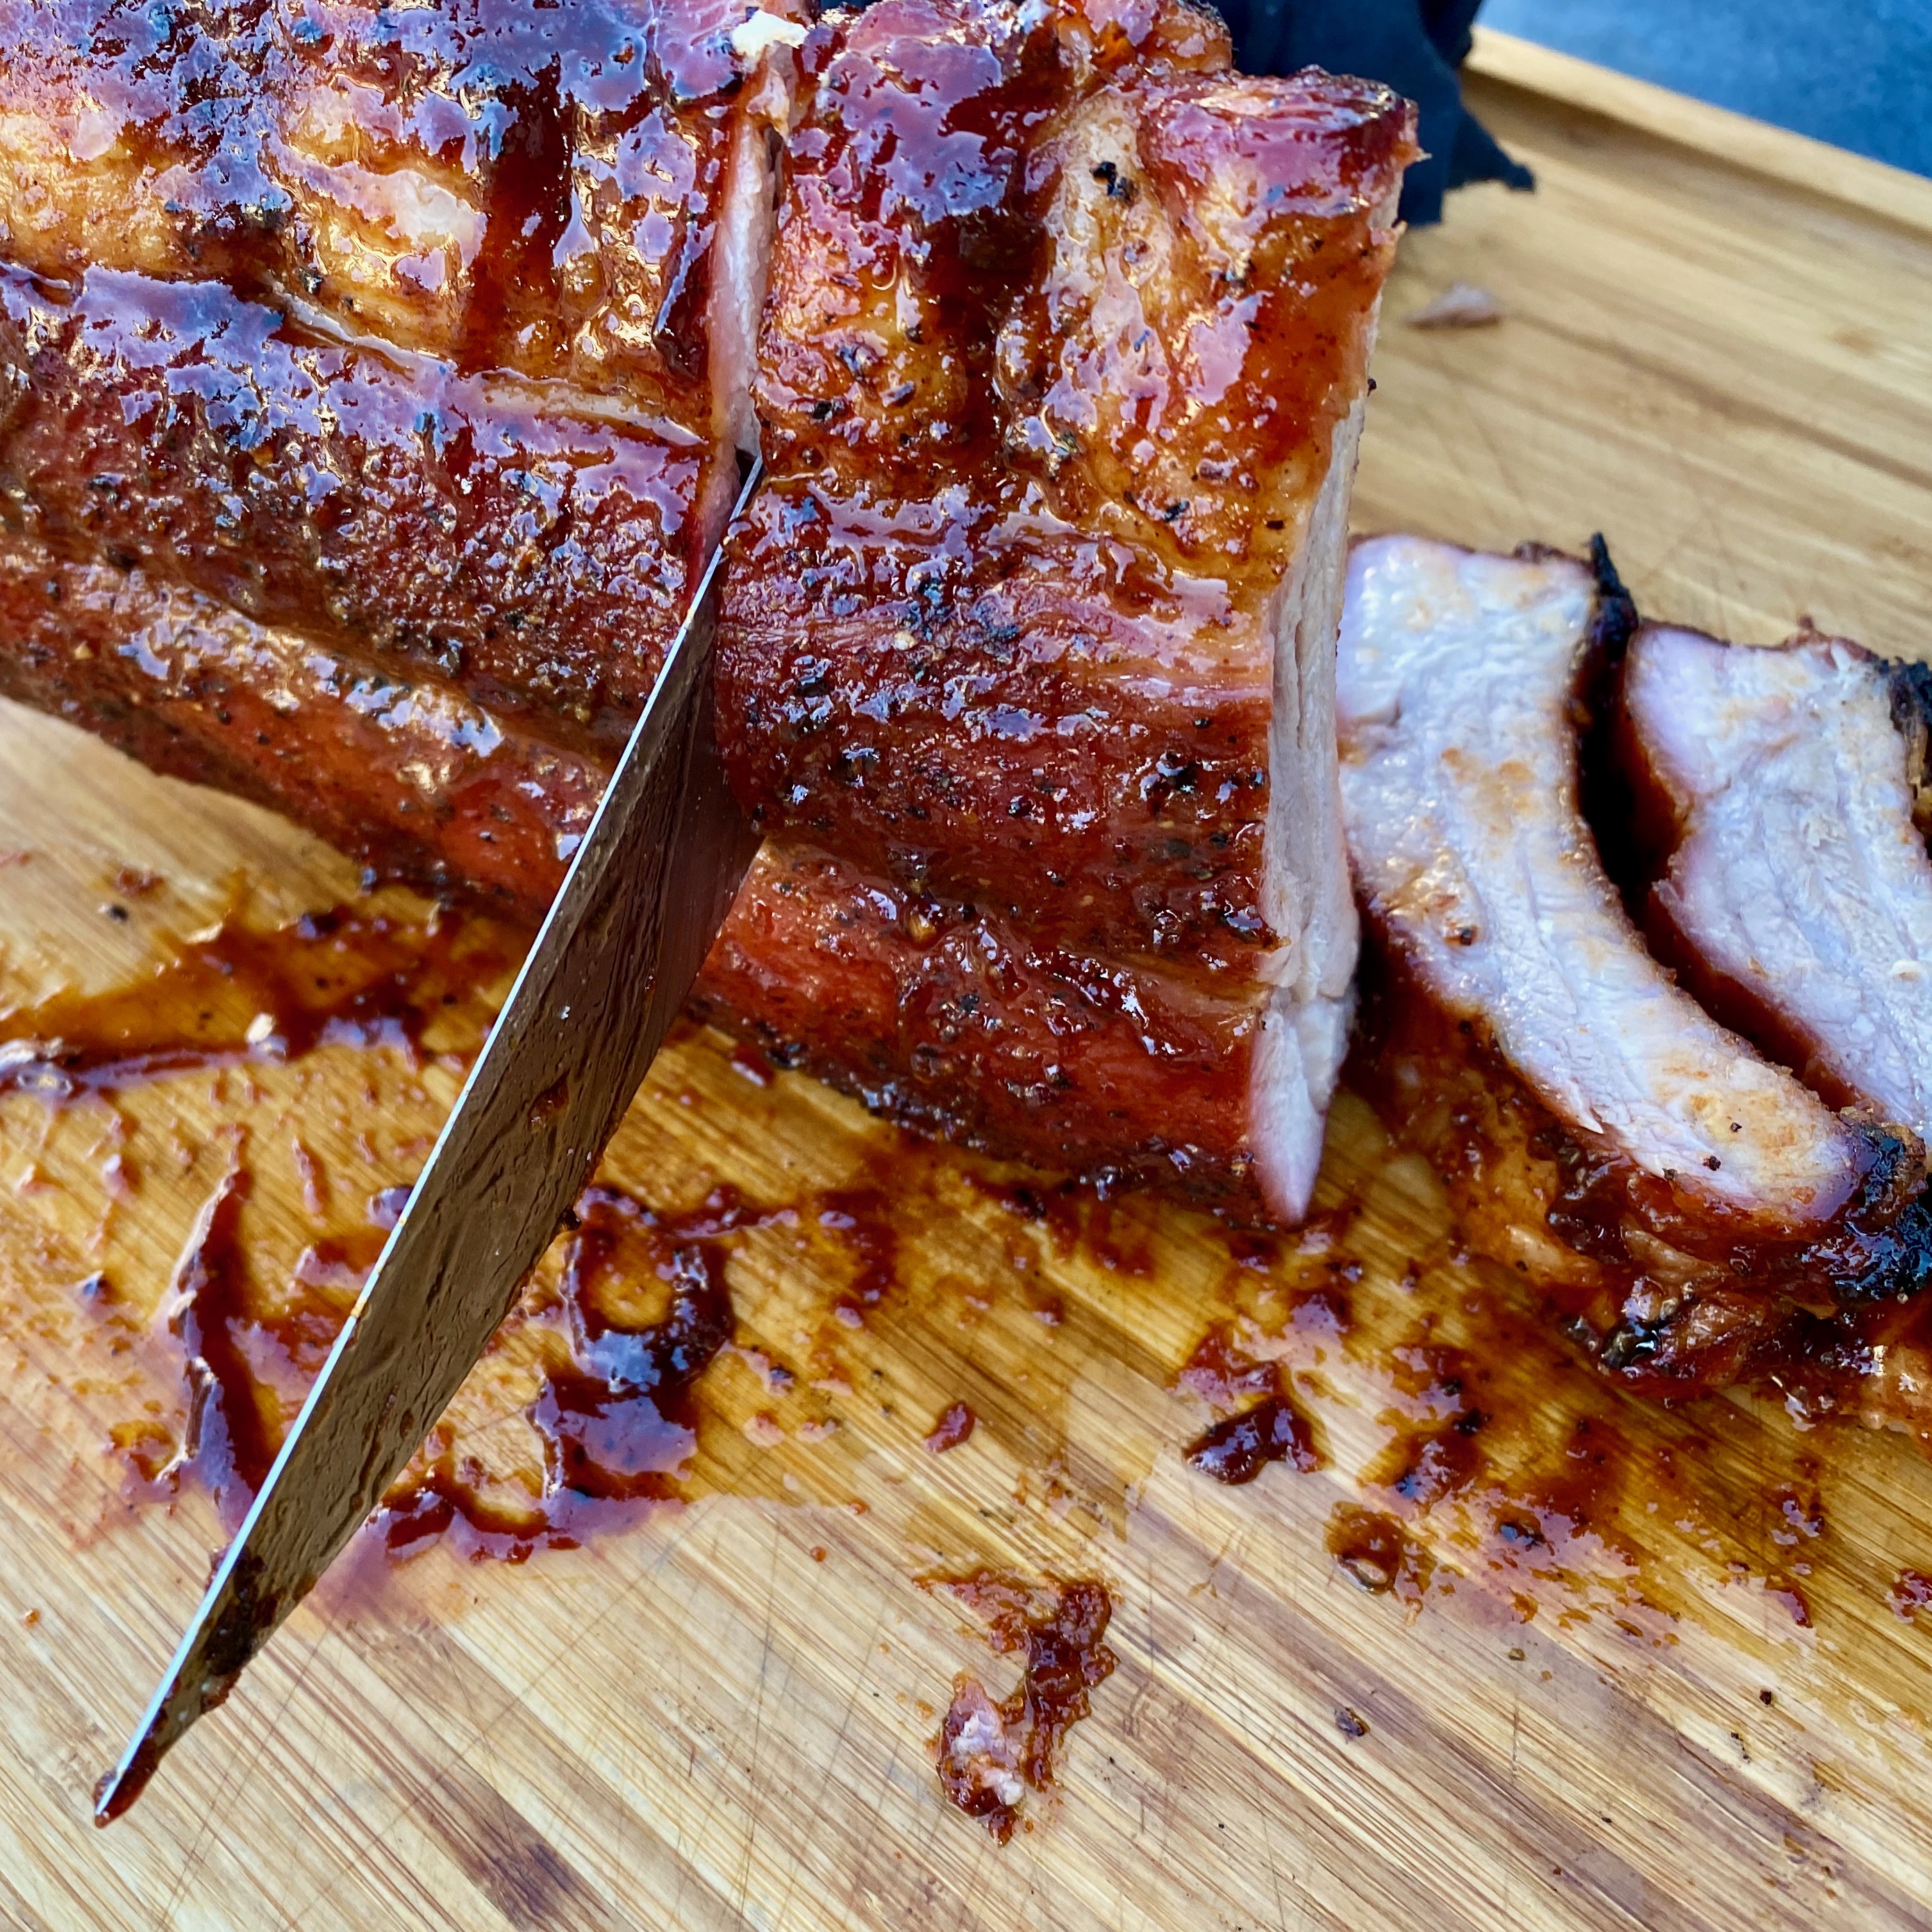
Now that the ribs are done, you will need to slice them and get them on a platter for serving. After all this time and effort you don't want the ribs to look like a mess, so it's important to use a sharp knife when slicing.
I like to make sure my knife is honed properly by using the WorkSharp ceramic honing rod to touch up my edge.
If you flip your ribs meaty side down on the cutting board, it makes getting a clean slice much easier. This is especially true when you have pounds of ribs to break down for hungry guests.
Like an umpire with a fresh set of glasses, you can see where the bone runs when the meat side is down on the cutting board.
When the meat side is up, it's much harder to see which way the bone runs to achieve even slices.
Even slicing the ribs on their side makes the bone much easier to cut around than cutting through the meatier side first.
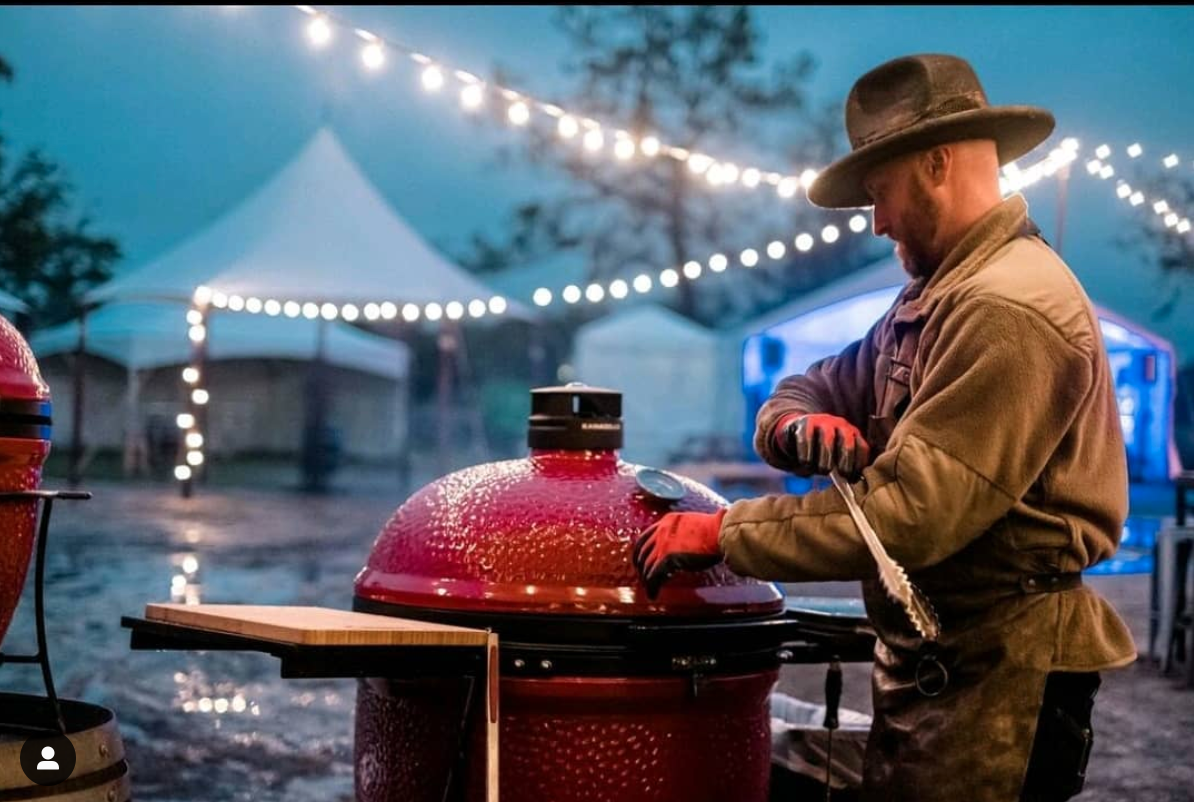
Chef Eric cooking on a Kamado Joe
Save your hands
Slow and low cooking for barbecue is typically done between 225F-275F. But just because the cooking temperatures are on the low side, it doesn't mean that the meat can't leave a nasty burn if you're not careful.
I once saw Chef Eric Gephart using these gloves during a demonstration and he was able to hand out hot meat like a Harlem Globetrotter palming a basketball. Chef Eric was using a general-purpose Nitrile coated work glove. The gloves provide the right amount of protection from hot foods but don't impede you from doing normal tasks like removing bones, slicing, or saucing hot meats.
These gloves are disposable but I find I can stretch their lifespan a bit by placing a second set of gloves for food handling over them which can easily be removed and discarded if things get too saucy.
A rolling rib gathers no moss
But fortunately, it does collect a deliciously smoky flavor!
Did you know that ribs can be rolled and tied in an effort to save space? I experimented with this on a small kamado grill that has a sparse 133 square inches of cooking space.
The rolled rack cooked perfectly. After cooking, it was transported inside a cooler wrapped in foil, and towels for dinner three hours later. We rolled into a family function and the ribs were piping hot and ready to eat.
It works great on a pellet grill too!
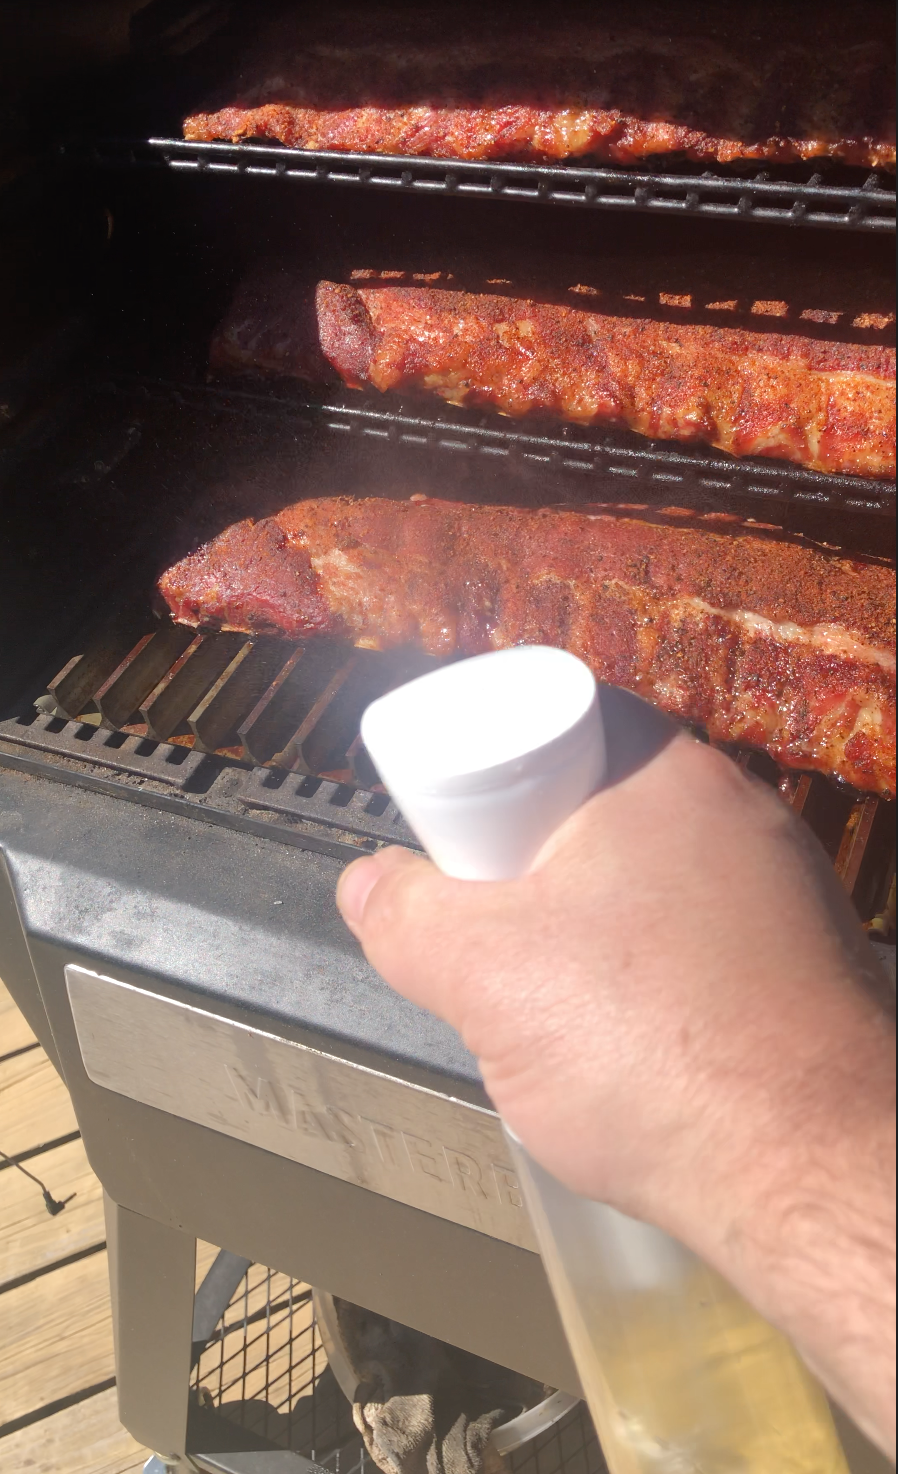
spritzing ribs with apple juice on smoker Ribs get a misting spritz of apple juice on the smoker

You can spritz, but stay away from the other gimmicks for now
I do like to spritz my ribs with a mist of apple juice while cooking. Apple cider also works well if it's in season.
I like using a continuous spray misting bottle and giving the ribs a light spray down about every 45 minutes for the first three hours. After you spritz the ribs a second time, some of the apple flavors really begin to smell nice. Some may argue it adds flavor. Others feel between the smoke, spices, sauce, and meaty flavor it doesn't add much value.
If nothing else, it gives me an excuse to set the timer on my phone and go check on the ribs a few times during the cook. I enjoy the way the apple juice smells on the smoking meat and I like checking in on the project too. The same goes for cooking a pork loin or a pork shoulder. There's something satisfying about being outside and spritzing the food or checking its internal temperature.
There are a lot of gimmicky rib recipes out there. Some sound interesting, and others are downright gross.
It has been fun coming up with 10 Tips For Cooking 3-2-1 Ribs. My best suggestion is for you to master the fundamentals of rib cooking. Then if it's essential that you try adding flavors like peanut butter and jelly, Dr. Pepper, or marshmallow peeps to your ribs, at least you already know what good ones are supposed to taste like.
After you master pork ribs you should consider cooking a pork brisket on the smoker. This less than common cut of pork is flavorful and delicious. A real treat!

Comments
No Comments